

Well, Al and I had an epic weekend last week. We saw family and friends (check out some photos by M. Helm here!), played with our baby chicks and kittens (the cute name for baby rabbits remember) and most importantly for the sake of this blog, learned how to make homemade cheese!!
Everyone should do this. EVERYONE. Unless you’re lactose intolerant or live under a bridge with no access to a heating element, but even then, it’s so easy that you could probably just light a bonfire in a garbage can and make your own, fresh cottage cheese. If you’re my friend in real life, consider yourself tagged in this post already, because I will expect a report of how awesome your cheese was by next weekend.
Here’s what you do to make the best cottage cheese you’ll ever eat:
- Buy the freshest whole milk possible. Try to find a local source for quality milk, if you can’t, use what you can find as long as it’s not ultra pasteurized. If you live in western MT, whole milk from the Kalispell Kreamery works great. I said WHOLE milk, we’re making cheese, so indulge a little (also the cheese making process is basically separating the milk fat from the water, so whole milk yields more cheese).
- Prepare the following 4 ingredients: 1) 1 gallon of pasteurized milk, 2) 3/4 cup white vinegar, 3) 1 & 1/2 tsp kosher salt, 4) 1/2 cup half & half or heavy cream.
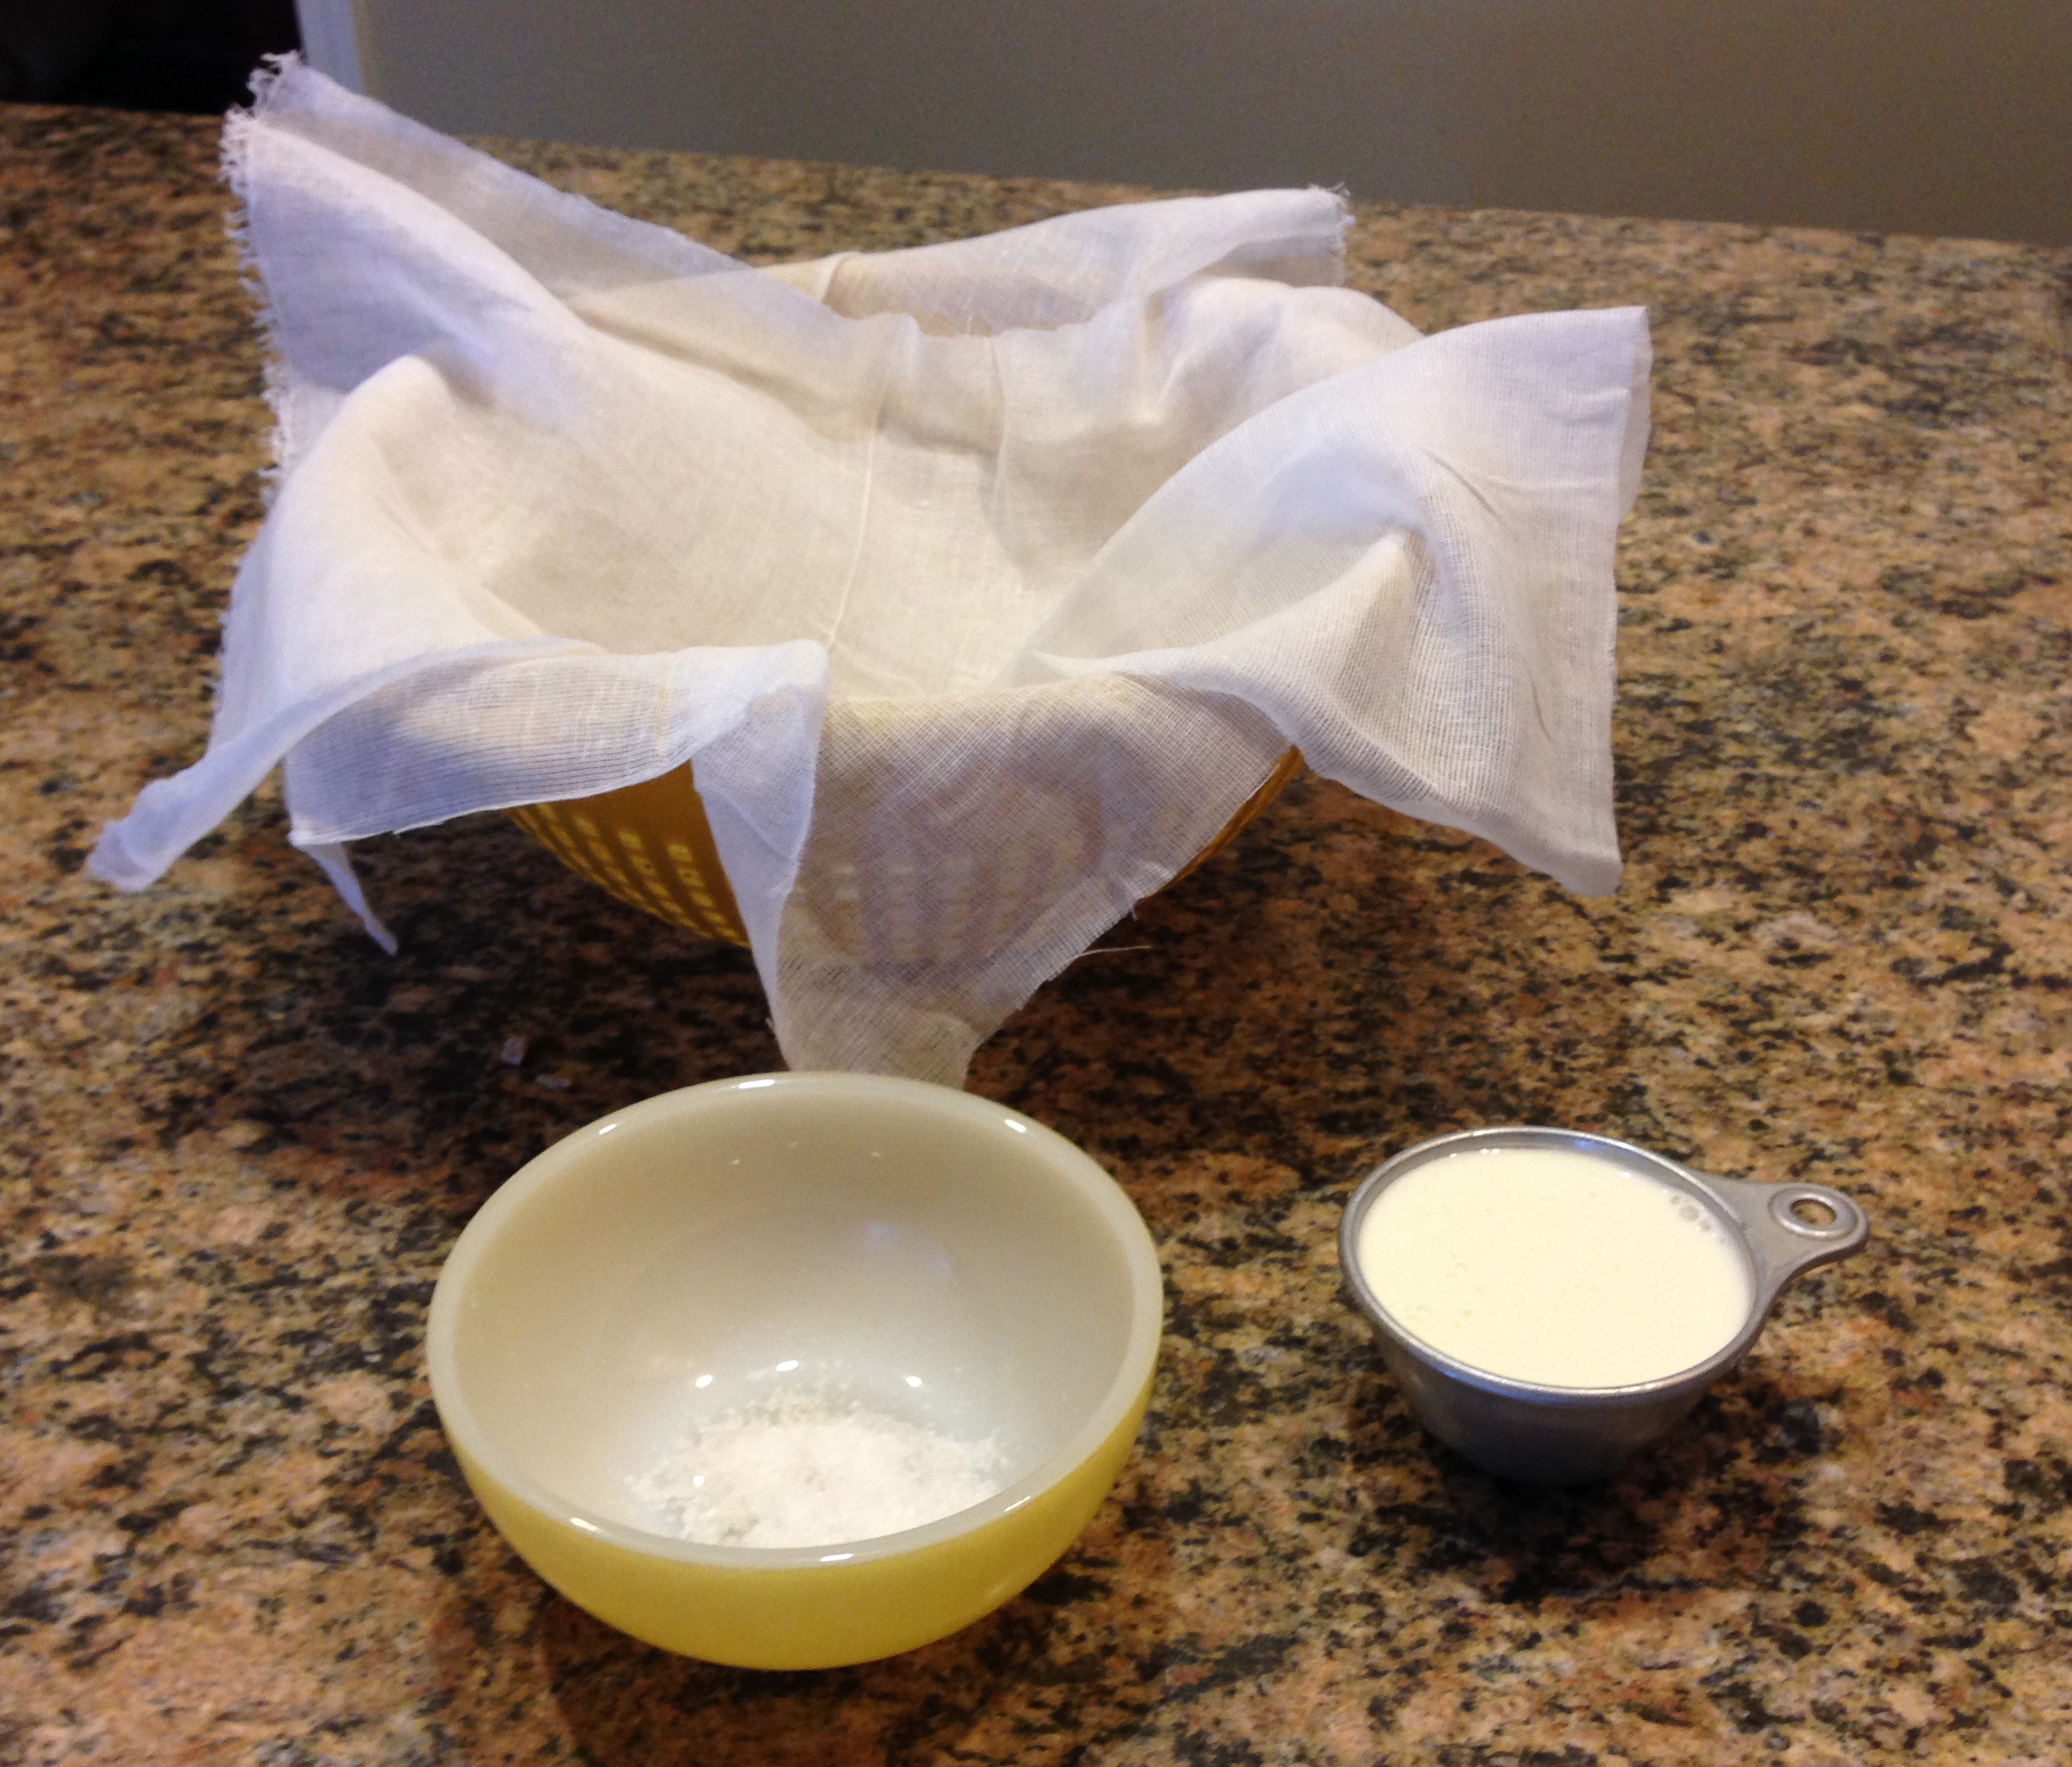
- Make sure you have the following 6 items on hand: 1) A large stainless steel pot (without a copper bottom) 2) Cheesecloth 3) A large, stainless steel slotted spoon 4) A colander 5) A waterproof digital thermometer (an analog thermometer will work, but you will have to calibrate it every time). 6) A small bowl (large enough for 2 cups of cottage cheese)
- Begin!
- Pour your gallon of milk into a pot on medium heat.
- Heat to 120 degrees and remove from heat.
- Pour in vinegar and stir slowly for a few minutes.
- Cover it and let it sit for 30 minutes.
- Next, pour your mixture into the colander, lined with cheese cloth.
- Let it drain freely for a few minutes.
- Then, pick up the corners of the cheese cloth, twist, and hold them together as you gently run the wrapped cottage cheese under cool water for three minutes while you gently squeeze it and move it to cool it down.
- Shut off the water and squeeze it to get it dry.
- Move it from the cheese cloth into to a small bowl, add salt, and stir to break up the cottage cheese.
- Stir in half & half or heavy cream right before you serve.
- Enjoy within 5 days and impress your friends!!
PRO TIPS (for the detail-oriented):
- Before you pour your milk, dust off the outside of the jug, so you don’t get any dust in your cheese.
- When you rinse your cottage cheese while it’s wrapped, it will still drain white–that’s okay!! We’re not rinsing off a paintbrush, we’re making cheese.
- You can use the extra whey (white run-off) on your plants!
- If you don’t want to gather all the supplies on your own (like cheese salt, rennet, and citric acid for the fancy cheeses that we’ll show you soon like mozzarella), you can order a cheese making kit here for $24.99.


Disclaimer: These hairy man arms are not mine, but Al’s.


Hey apricot tree, you look hungry for whey…
